
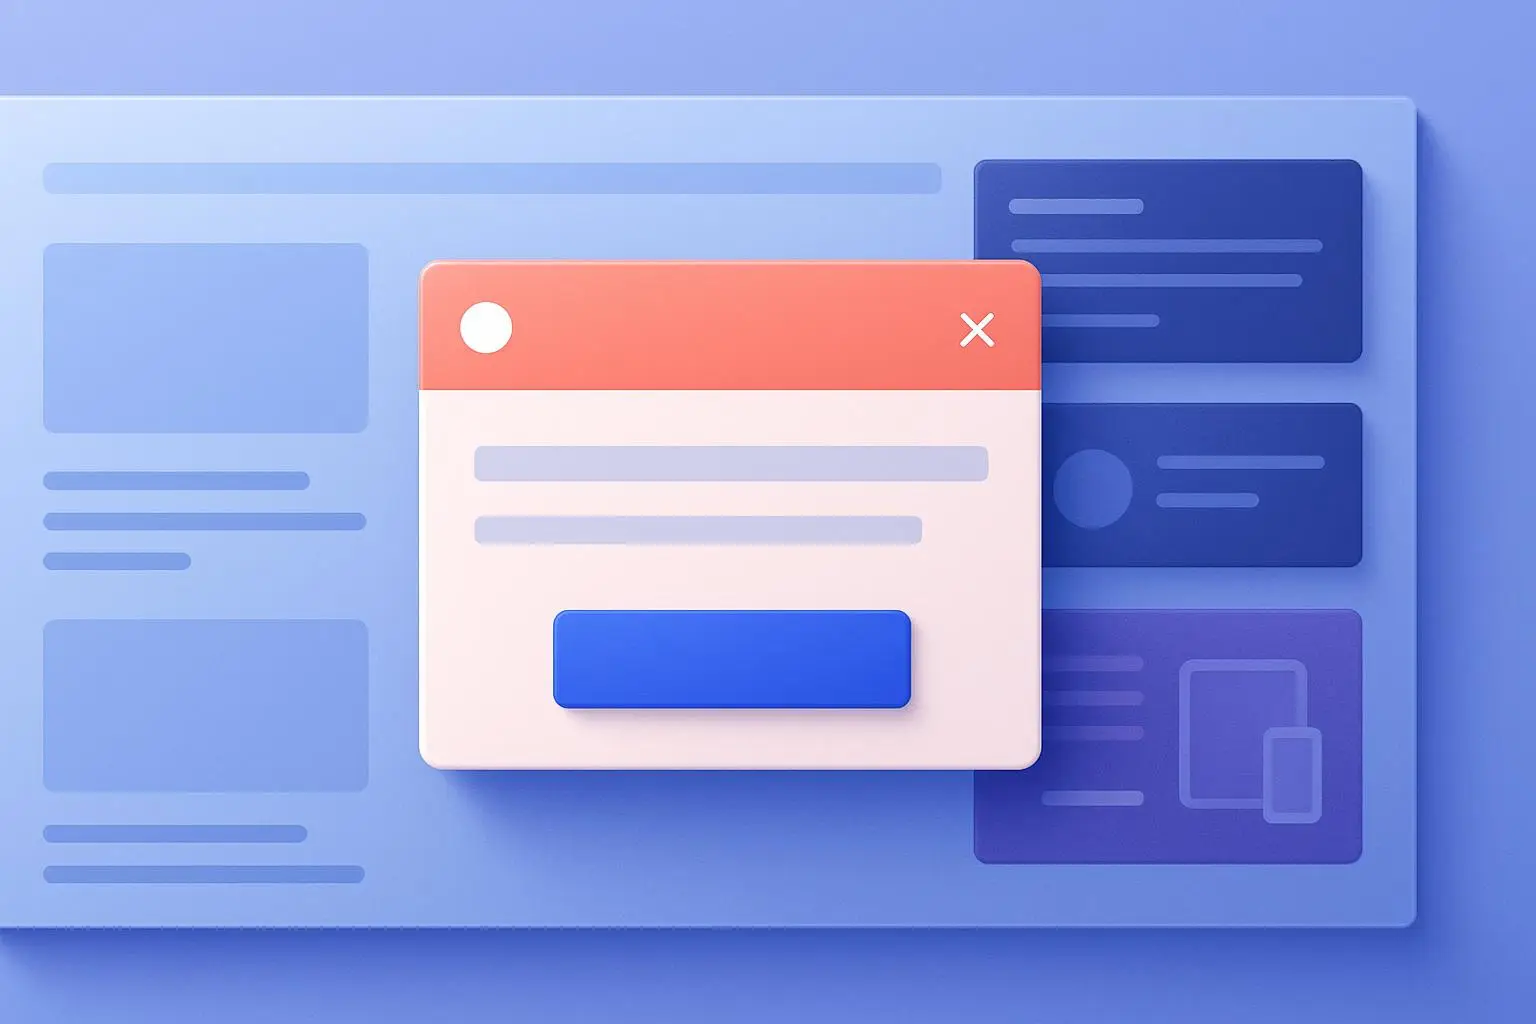
Popups are one of the fastest ways to capture email signups, promote an offer, or guide visitors toward a single action. If you run a site on Elementor Pro, you can build a polished popup without touching code. This guide shows you how to create a popup with the Atomic Editor in Elementor Pro, from the first blank canvas through publishing and testing on real devices.
By the end, you will have a working popup that opens based on rules you set, displays cleanly on desktop and mobile, and matches the look of your website. We will move through each step in order, explain what every setting does before you change it, and finish with a short troubleshooting section for the problems people hit most often.
Before You Start: Prerequisites
You need two things in place before you begin.
- An active Elementor Pro license. Popups are a Pro feature. The free version of Elementor does not include the popup builder.
- Access to the Atomic Editor. This is the editing interface you will use to design the popup. Make sure your Elementor Pro installation is updated so the Atomic Editor is available in your dashboard.
It also helps to know what you want the popup to do. Decide on a single goal before you build: collect emails, announce a sale, or point visitors to one page. A popup with one clear purpose converts better than one trying to do several things at once.
Step 1: Start a New Popup
From your WordPress dashboard, go to Templates > Popups. Click Add New Popup. You will be asked to name your popup. Give it a descriptive name such as “Newsletter Signup” or “Spring Sale” so you can find it later when you have several.
After naming the popup, confirm to open the editor. This creates the template that holds your popup design and its display rules.
Step 2: Open and Navigate the Atomic Editor
Once the popup opens, you are inside the Atomic Editor. The layout will feel familiar if you have edited pages in Elementor before. The main area in the center is your popup canvas. The panel on the left holds widgets and settings.
Take a moment to find these areas:
- The widget panel on the left, where you drag elements like text, buttons, images, and forms onto the canvas.
- The settings gear at the bottom of the panel, which controls the popup itself, not the content inside it.
- The responsive toggle at the bottom, which lets you preview desktop, tablet, and mobile views.
Knowing where these live now saves time later. The content and the popup behavior are controlled in separate places, and mixing them up is a common source of confusion.
Step 3: Build the Popup Layout and Add Content
Start with the structure. Add a container or section to hold your content. Keep the layout simple. A headline, a short line of supporting text, and one call to action is enough for most popups.
Drag the widgets you need onto the canvas:
- Heading widget for your main message. Keep it short and specific.
- Text widget for one supporting sentence that explains the benefit.
- Form or Button widget for the action you want visitors to take. If you are collecting emails, use the form widget and connect it to your email service.
Resist the urge to add more. Every extra element gives the visitor another reason to close the popup instead of acting on it.
Step 4: Style the Popup for Readability and Conversion
Now make the popup easy to read and consistent with your brand. Select each element and use the Style tab to adjust it.
- Typography: Match your site fonts. Make the headline clearly larger than the body text.
- Colors: Use enough contrast between text and background so the message is legible. Give your call-to-action button a color that stands out from the rest of the design.
- Spacing: Add padding inside the container so the content does not touch the edges. White space makes a popup feel less cramped.
- Background and overlay: Set the popup background and, in the popup settings, adjust the overlay that dims the page behind it. The overlay helps the popup feel separate from the page.
Check the mobile view as you style. A popup that looks balanced on desktop can overflow or shrink awkwardly on a phone. Adjust font sizes and padding for mobile where needed.
Step 5: Configure Popup Behavior and Display Settings
Open the popup settings using the gear icon. This section controls how and when the popup appears. The main tabs are Layout, Style, and Advanced.
In the settings, you can control:
- Entrance and exit animation to control how the popup slides or fades in.
- Width and position so the popup sits in the center, corner, or along an edge.
- Close behavior, including whether clicking the overlay closes the popup and whether an automatic close timer applies.
- Prevent closing on overlay click if you want visitors to use the close button only. Use this sparingly, since forcing visitors to stay feels aggressive.
Read each option before changing it. These settings shape the visitor’s experience more than the design does.
Step 6: Publish the Popup
When your design and settings are ready, click Publish. Before the popup goes live, Elementor asks you to set display conditions, triggers, and advanced rules. The popup will not appear to anyone until you set these.
- Conditions decide where the popup can appear. You can target the entire site or specific pages, posts, or archives.
- Triggers decide when it appears. Common triggers include on page load, after scrolling a set percentage, after a time delay, or on exit intent.
- Advanced rules add limits, such as showing the popup only to new visitors or capping how often someone sees it.
Set at least one condition and one trigger, then save and publish. A popup with no trigger will never show.
Step 7: Test the Popup on Desktop and Mobile
Always test before you consider the job done. Open your site in a regular browser window, not the editor, and confirm the popup behaves as expected.
Use this checklist:
- The popup appears on the correct pages and at the right trigger.
- The close button works and the popup does not reappear immediately after closing.
- Text is readable and nothing overflows the container.
- The form submits and connects to your email list, or the button links to the correct page.
- On mobile, the popup fits the screen and the close button is easy to tap.
Test on at least one real phone, not only the editor’s mobile preview. Real devices reveal spacing and scroll issues that previews can miss.
Troubleshooting Common Issues
The popup does not appear. Check that you set both a display condition and a trigger. A missing trigger is the most frequent reason a popup stays hidden. Also confirm the popup is published, not saved as a draft.
The popup appears on the wrong pages. Review your conditions. Site-wide conditions show everywhere unless you add exclusions for specific pages.
The form does not collect submissions. Open the form widget settings and confirm your email service is connected and the action after submit is configured.
The design looks broken on mobile. Switch to the mobile view in the editor and adjust typography, padding, and width for that breakpoint separately from desktop.
Final Review Before You Launch
Creating a popup with the Atomic Editor in Elementor Pro comes down to a clear sequence: start the popup, design it in the editor, style it for readability, set behavior, publish with conditions and triggers, and test on real devices. When you keep each popup focused on one goal and confirm every setting before moving on, you end up with something that works the first time rather than something you have to keep fixing.
Before you launch, run through the testing checklist one more time. Load the live page, watch the trigger fire, close the popup, and confirm it respects its frequency rules. Check the mobile experience on an actual phone. These few minutes catch the problems that frustrate visitors and cost you conversions.
If you are stuck on display conditions, a popup that will not show, or a design that breaks across devices, you do not have to work through it alone. Quadshot Digital provides digital services that help businesses build, fix, and improve their websites, including Elementor Pro setups and conversion-focused design. Reach out to our team with your specific issue, and we will help you get your popup working the way you intended so it starts contributing to your goals.